
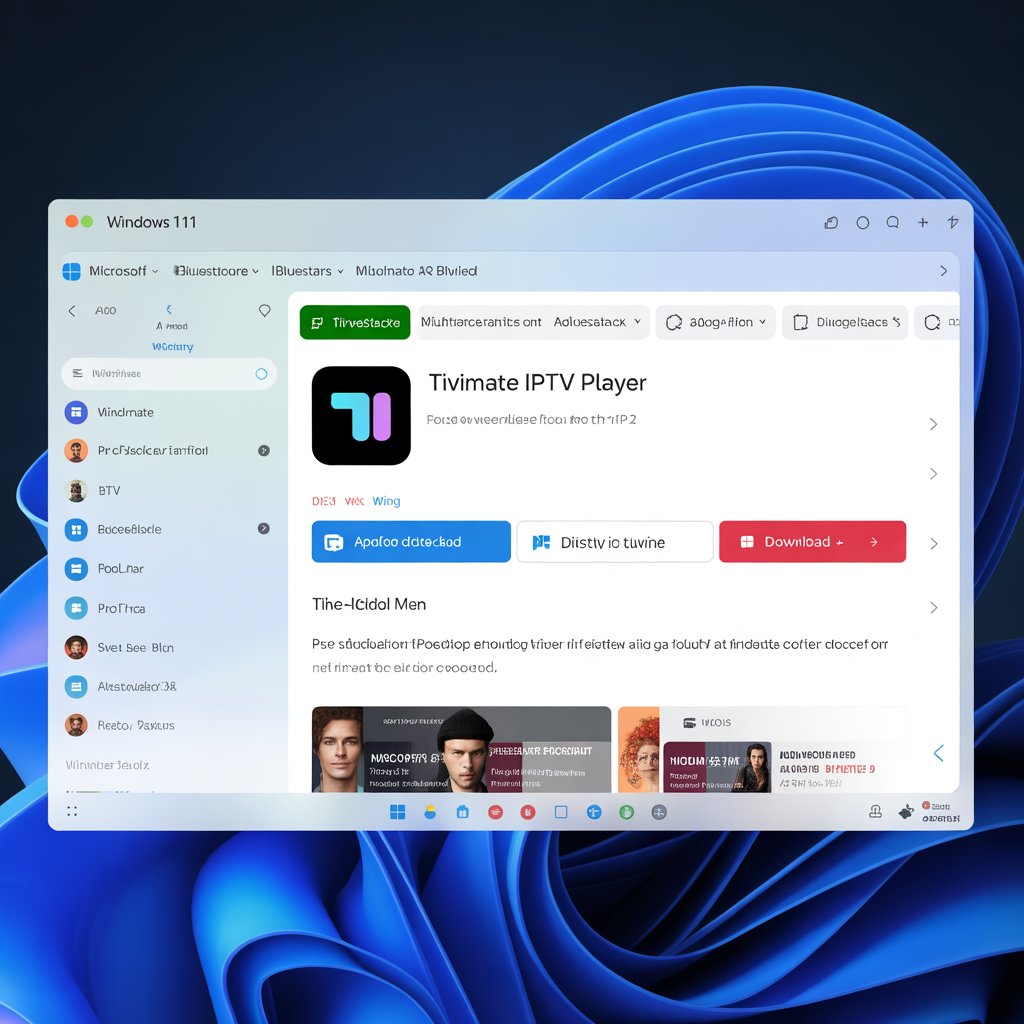
Install TiviMate IPTV Player Windows 11: The Complete Step-by-Step Guide (2025)
install tivimate iptv player windows 11
Updated: 2025 | Reading time: ~12 minutes
Quick definition (snippet-friendly)
TiviMate is a powerful Android-based IPTV player known for an excellent EPG and clean UI. This guide shows you how to install TiviMate IPTV Player Windows 11 using reliable Android emulators, configure playlists and EPG, optimize performance, and troubleshoot common issues.
Want to install TiviMate IPTV Player Windows 11? This step-by-step, professional guide explains exactly how to run TiviMate — an Android-only IPTV app — on Windows 11 using trusted emulators, how to load M3U playlists and EPG sources, and what settings give the smoothest playback. Whether you’re a beginner or an advanced user, you’ll find clear instructions and practical tips.
Why install TiviMate IPTV Player Windows 11?
Installing TiviMate on Windows 11 gives you the best of both worlds: the TiviMate interface (designed for Android TV) and the power and flexibility of a Windows desktop. Some common reasons people choose to install TiviMate on Windows 11 include:
- Large-screen viewing with keyboard + mouse or remote control.
- Ability to run multiple playlists and manage EPG cleanly.
- Stronger hardware — smoother playback than some set-top boxes.
- Convenient multi-tasking: record, switch apps, and stream concurrently.
Note: TiviMate is not natively available for Windows at the time of writing. Running it requires an Android emulator (covered below).
Best methods to install TiviMate IPTV Player Windows 11
There are two reliable approaches we recommend for most users:
- BlueStacks: Stable, well-supported, full-featured. Recommended for mid-to-high spec PCs.
- LDPlayer: Lightweight and fast, excellent for low-spec or resource-conscious systems.
Both options let you sideload the TiviMate APK and run the app as if it were on an Android device. The steps below walk you through each method.
Method 1 — install TiviMate IPTV Player Windows 11 using BlueStacks
Step-by-step: BlueStacks (recommended)
- Download BlueStacks from the official site and run the installer. (Search for BlueStacks and download the latest stable build.)
- Install and launch BlueStacks. Sign in with a Google account to access Play Store features.
- Obtain the TiviMate APK from a trusted source — remember: do not use modified/cracked versions.
- Install the APK inside BlueStacks: drag-and-drop the APK into the BlueStacks window or use the ‘Install APK’ control.
- Open TiviMate, add your M3U playlist URL and EPG source, and adjust playback settings.
External link placeholder: [External: Download BlueStacks]
BlueStacks recommended settings for best IPTV performance
- Enable virtualization (VT-x) in BIOS.
- Assign at least 4 GB RAM and multiple CPU cores in BlueStacks settings.
- Enable Hardware acceleration if available.
- Set resolution to 1080p for best clarity on most monitors.
Method 2 — install TiviMate IPTV Player Windows 11 using LDPlayer
Step-by-step: LDPlayer (lightweight)
- Download LDPlayer and run the quick installer.
- Launch LDPlayer and configure basic performance settings (RAM/cpu allocation).
- Download and drag the TiviMate APK into LDPlayer to install.
- Open TiviMate and add your playlist and EPG information.
External link placeholder: [External: Download LDPlayer]
Why choose LDPlayer?
- Lower memory and CPU overhead.
- Good stability for long streaming sessions.
- Faster startup on older Windows 11 laptops and mini-PCs.
How to configure TiviMate after installation
Once you install TiviMate on Windows 11 (via an emulator), follow these steps to get streaming quickly.
1. Add your M3U playlist
- Open TiviMate > choose Add playlist.
- Select Enter URL and paste your M3U URL. If credentials are required, enter username & password.
- Allow TiviMate to load channels and create groups automatically.
2. Configure EPG (Electronic Program Guide)
EPG shows program listings and is critical for channel scheduling.
- Add XMLTV / EPG source URL to the EPG settings.
- If the EPG is compressed (gzip/zip), TiviMate can usually parse it.
- Sync EPG after adding to ensure accurate listings.
3. Playback and decoder settings
- Enable Hardware decoder for smoother playback when available.
- Toggle Auto frame rate if your emulator supports it.
- Increase buffer size or switch to HLS streams for better stability on congested networks.
Optimizing Windows 11 and emulator settings for IPTV
To minimize buffering and lag, follow these Windows and emulator-level optimizations.
Windows 11 optimizations
- Use a wired Ethernet connection when possible.
- Put Windows power mode to High Performance.
- Close background apps and heavy browser tabs during streaming.
- Keep GPU drivers up to date (NVIDIA/AMD/Intel).
Emulator optimizations
- Allocate sufficient RAM and CPU cores in emulator settings.
- Set screen resolution for your display (1080p recommended).
- Enable virtualization (VT-x/AMD-V) in BIOS to boost emulator speed.
Troubleshooting common issues when running TiviMate on Windows 11
Here are common problems and direct fixes so you can get back to watching quickly.
1. Channels not loading
- Verify your M3U URL is active and correct.
- Test the playlist on a phone or another player to confirm provider status.
- Re-add the playlist and restart TiviMate.
2. EPG data missing or incorrect
- Confirm EPG XML URL and time zone mapping.
- Remove & re-add the EPG source, then sync.
- Check for EPG format compatibility (XMLTV recommended).
3. Buffering and freezing
- Switch between hardware and software decoders.
- Lower stream quality or use a different stream type (HLS over MPEG-TS).
- Increase buffer size in TiviMate or emulator network settings.
4. Emulator sluggish or crashing
- Enable virtualization in BIOS.
- Increase emulator memory allocation.
- Try an alternative emulator (BlueStacks vs LDPlayer).
Comparison: BlueStacks vs LDPlayer for TiviMate
| Feature | BlueStacks | LDPlayer |
|---|---|---|
| Performance | Excellent on high-end machines | Very good, lightweight |
| Resource usage | Higher | Lower |
| IPTV stability | Excellent | Excellent |
| Ease of use | Very user-friendly | Simple and fast |
Is TiviMate the best IPTV player choice for Windows 11?
TiviMate offers one of the best IPTV experiences, especially for users who value EPG quality, channel management, and a polished interface. Because it is Android-native, you need an emulator to run it on Windows. If you prefer a native Windows app, consider alternatives like IPTV Smarters, MyIPTV Player, or Kodi with IPTV add-ons.
Internal link placeholder: [Link to related article on Best IPTV Players for Windows]
Safety, legality, and best practices
Always follow these simple rules before streaming:
- Only use playlists and content from authorized providers.
- Download APKs from reputable sources — avoid cracked/modified apps.
- Use a VPN if you need privacy or your ISP throttles streaming traffic.
External link placeholder: [External: VPN Guide]
External credibility placeholder: [Link to WHO report on mental health] (example external placeholder)
Frequently Asked Questions (FAQ)
Can you install TiviMate IPTV Player Windows 11 without an emulator?
No. TiviMate is an Android-only app and requires an emulator to run on Windows 11 as of this guide.
Does TiviMate support live TV features like catch-up and recording?
Yes. Some advanced features require the TiviMate Premium subscription. Inside an emulator these features generally work the same as on Android TV.
Will TiviMate Premium transfers work on Windows 11?
Yes — you can restore a TiviMate Premium license inside the emulator by signing into your TiviMate account or entering the license details as instructed.
Quick checklist: Before you start
- Windows 11 PC with virtualization support enabled.
- Reliable internet connection (wired preferred).
- Latest GPU drivers installed.
- Trusted source for the TiviMate APK.
- Your IPTV provider’s M3U and EPG URLs (if required).
Wrapping up — Final recommendations
To summarize, if you want a polished IPTV interface and excellent EPG on a large display, install TiviMate IPTV Player Windows 11 via an emulator like BlueStacks or LDPlayer. BlueStacks suits higher-end machines with plenty of RAM and CPU, while LDPlayer is better for lower-resource systems.
Keep your system optimized, use verified playlists from legitimate providers, and consider a VPN for privacy. If you follow the steps in this guide, you’ll have TiviMate up and running on Windows 11 with smooth playback and full EPG support.
